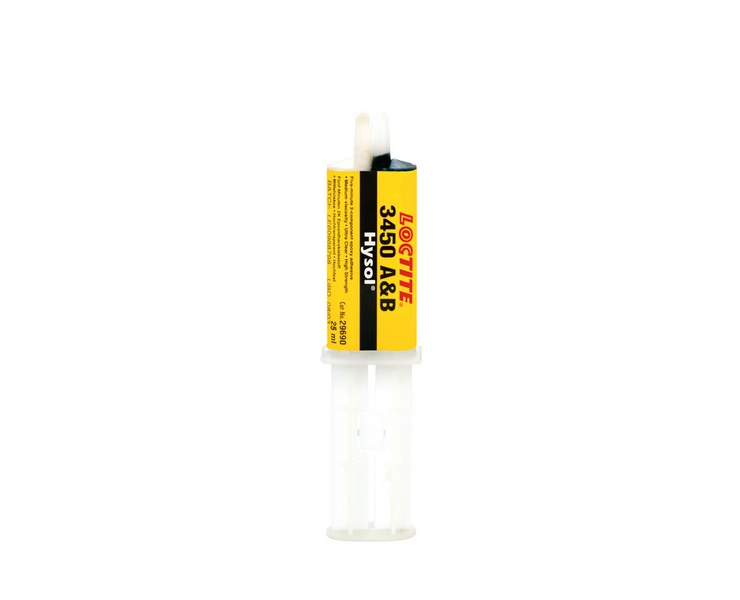

HS-AA003 Stud Mounting Adhesive
Key Features:
[no_unordered_list style=”circle” number_type=”circle_number” animate=”yes” font_weight=”normal”]
- 2 part adhesive
- Quick cure
- Maximum temperature 100°C
- Typical tube will stick 25 studs.
[/no_unordered_list]
Fitting Instructions
To ensure that the accelerometer gives optimum performance it is important that care is taken when mounting the stud and accelerometer by following the instructions below:
[no_unordered_list style=”circle” number_type=”circle_number” animate=”yes” font_weight=”normal”]
- Select a mounting position, in any plane, as close as possible to the vibration source
- Prepare a flat, smooth, unpainted surface larger than the base of the accelerometer
- Thoroughly clean the surface and the base of the glue stud with solvent
- Dispense required amount of Loctite Metal Adhesive Set onto a suitable tray. Mix thoroughly to an even colour. This should take no more than 1 – 2 minutes. Apply adhesive to the base of the stud and fit to the prepared surface. The adhesive will begin to set after a few minutes, but allow 1 hour for a full strength bond
- Before fitting the accelerometer to the stud, smear grease onto the mating surfaces to ensure good coupling to the accelerometer
- Fit the accelerometer to the stud and lightly tighten
- Loop the cable and cleat to the accelerometer body, then cleat the cable to a surface to minimise movement.
[/no_unordered_list]